Developing B&W Film at Home
I've recently picked up an interest in film photography. One problem is that getting your film developed at a lab is bloody expensive. Mind you, that is without getting any prints or scans done. If you want positive copies or scans, the price skyrockets. However, developing black and white film at home is very cheap (after the initial expense) at under a dollar per roll.
In this post, I'll first make a quick list of the things I use, then I'll describe the principles behind the process, and then finally my process. Even if you're not interested in developing film yourself, the middle section on the principles behind how film works might be interesting to read as a curiosity.
Equipment & Chemistry
My process is a very improvised one. I don't have anywhere near all the tools it'd be useful to have, but I scrape by. These are the things I use:
- Paterson universal developing tank
- Funnel (makes pouring things much easier)
- Scissors
- Steak thermometer (temperature not critical for B&W, but I try to keep it within 1 °C of 20 °C)
- Glass bottle (to store working solution of fixer – since the fixer can be reused)
- Plastic tray with high walls (to mix working solution of developer – since the developer is one use only)
- Small syringe (to measure amount of concentrated developer)
- Large measuring glass (to measure amount of water to mix with developer)
- Clamps for hanging film to dry
- Disposable vinyl gloves (probably excessive, but it calms the nerves of my mother)
- "Rodinal" developer (Tetenal's R09 solution, works the same as Rodinal)
- Kodak T-Max Fixer
The chemicals, tank and clamps were ordered from Photax, which ships within Sweden. The syringe was given to me for free by a nice clerk at a pharmacy. The rest was scraped together from things I have at home and from regular supermarkets.
What Does Developing Even Do?
I think it's important to have a general sense of what the process is even about, to be able to make quick decisions when things go wrong, or when things aren't happening as you expected them to.
In this regard, there are basically four important steps to the process:
- Developing
- Fixing
- Rinsing
- Drying
To understand how these fit together, I want to go back to the moment you pressed the shutter button first.
Black and white film, in essence, is a long strip of plastic coated with silver salts. When atoms from these silver salts are exposed to light, they convert themselves to regular, metallic silver, like in your silverware. This metallic silver is opaque and has a black appearance. If, at this point, you ripped the film out of the camera, it would not look black. It'd still look relatively transparent.
The reason for that is that when you make an exposure, only very few atoms of silver salt are actually turning into metallic silver. It takes a lot of light to turn the film noticeably black.
That is where development comes into play. The developer is a chemical that stimulates the silver salts to turn into metallic silver. The silver salts are arranged in "grains", and the developer works on these grains. When there is more metallic silver in a grain, the developer will work faster to turn the other silver salts in the same grain into metallic silver. When there is very little metallic silver in a grain, the developer will be very slow to convert the silver salts in that grain to metallic silver.
So, you see, grains that have been exposed to much light have many atoms turned to metallic silver, therefore when those grains come in contact with the developer the remaining silver salts will turn into metallic silver faster than in the non-exposed grains.
Looking at it simplified: the developer serves the purpose of turning slightly hazy grains into full-on black grains on the film. It does this a little at a time, which is why timing is important when developing. If you leave the film in the developer for too long, the film will become completely black. If you leave it in too short, it will only be slightly hazy.
But even when you have developed your film perfectly, it is still light sensitive. If you take it out into the light, it will slowly but surely keep turning black as the remaining silver salts are being exposed to light. That's why we fix the film. The fixer is simply removing all the silver salts remaining on the film, such that it is no longer light sensitive.
Then, of course, you want to wash away any chemicals still on the film that aren't supposed to be there, so that's why I consider the rinsing step important. This is done with regular water. (Though you'll find people who prefer to use distilled water.) Drying is also a good idea – and probably inevitable.
Some people like to use a stop bath between the developer and fixer. As you probably understand from the above explanation, that isn't strictly necessary. What the stop bath does is quickly neutralise any developer left on the film, which means development stops immediately when coming in contact with the stop bath. If you just pour the developer out development might continue on parts of the film still in contact with some developer fluid. Depending on what you're aiming for, this effect might be negligible as long as you are quick to rinse off the developer and start fixing (which removes the sensitive silver salts the developer works with).
My Process
I start by laying out the Paterson tank with reels, the roll of film and my scissors in front of me where I know were they are. I then close my bathroom door, turning off the lights and blocking up the gap between the door and the hallway with a towel. This makes my bathroom completely dark.
When it's completely dark, I begin spooling the Paterson reel directly from the film cartridge. (Some people say it's a better idea to pop open the cartridge because the film can be scratched by the light-tight slit, but I figure if it's been through that slit twice already, one more time can't hurt.) I cut the film when it won't unwind farther from the roll, and seal the reel inside the tank.
At this point, the film is safe from light, so towel is removed and light is turned on.
I turn on my tap on a medium flow, stick the thermometer in the stream and try to adjust the temperature of the water to 20 °C. (Or whatever the working solution of fixer happens to be at – for me it's usually 20 °C.) Once I've hit 20 °C from the tap, I don't touch the tap until I'm done. I leave it running. It's bad for the environment and it uses up fresh water and yada yada but I need water at the correct temperature to develop film! Touching the tap is likely to nudge it out of that perfect position with exactly 20 °C water coming out of it.
I then take the syringe and measure out 8 ml of developer concentrate, which I put in the plastic tray. I then use the measuring cup to measure out 400 ml of 20 °C water out of the tap, and pour that into the tray and let it mix with the developer to get a working solution of 1:50. I will eventually experiment with other ratios, but that'll do to begin with.
When that is mixed, I pour it into the tank. I follow whatever times are recommended over at The Massive Dev Chart which for me with Tri-X shot at 400 ISO and a 1:50 mix of Rodinal is 13 minutes, inverting the tank for 10 seconds every minute.
After the developer is done, I pour it out into a jerry can I have in my bathroom to collect spent chemicals. Many people online say you can pour developer out in the drain, but local authorities in Stockholm recommend not doing so.
I fill the tank up with plain water and pour it out again a few times (4–5) to wash away any developer stuck on the film.
After that I fill the tank with the pre-made working solution of fixer, and the instructions on the bottle of fixer says to let it work for 2–5 minutes, with inversions for five seconds every 30 seconds. Since I don't know what "2–5 minutes" is supposed to mean I go with five minutes: if you recall the theory of what the fixer does, it shouldn't hurt to fix for longer than necessary.
The fixer is then poured back out to the bottle I use to store the working solution, since it can be reused. That's the main reason I keep the funnel around.
I then let the tank with the film sit under the running tap (still at 20 °C unless I've turned it off by habit) for 15 minutes to rinse off any chemicals remaining. Occasionally I might empty the tank and re-fill it again to make sure.
And that's it! Then I take out the film and hang it to dry.

Final Notes
One thing I noticed quickly is that I got some marks where water drops had been when drying off. I don't know how badly that is going to affect image quality in general, but I'll have to do some research on how to avoid that.
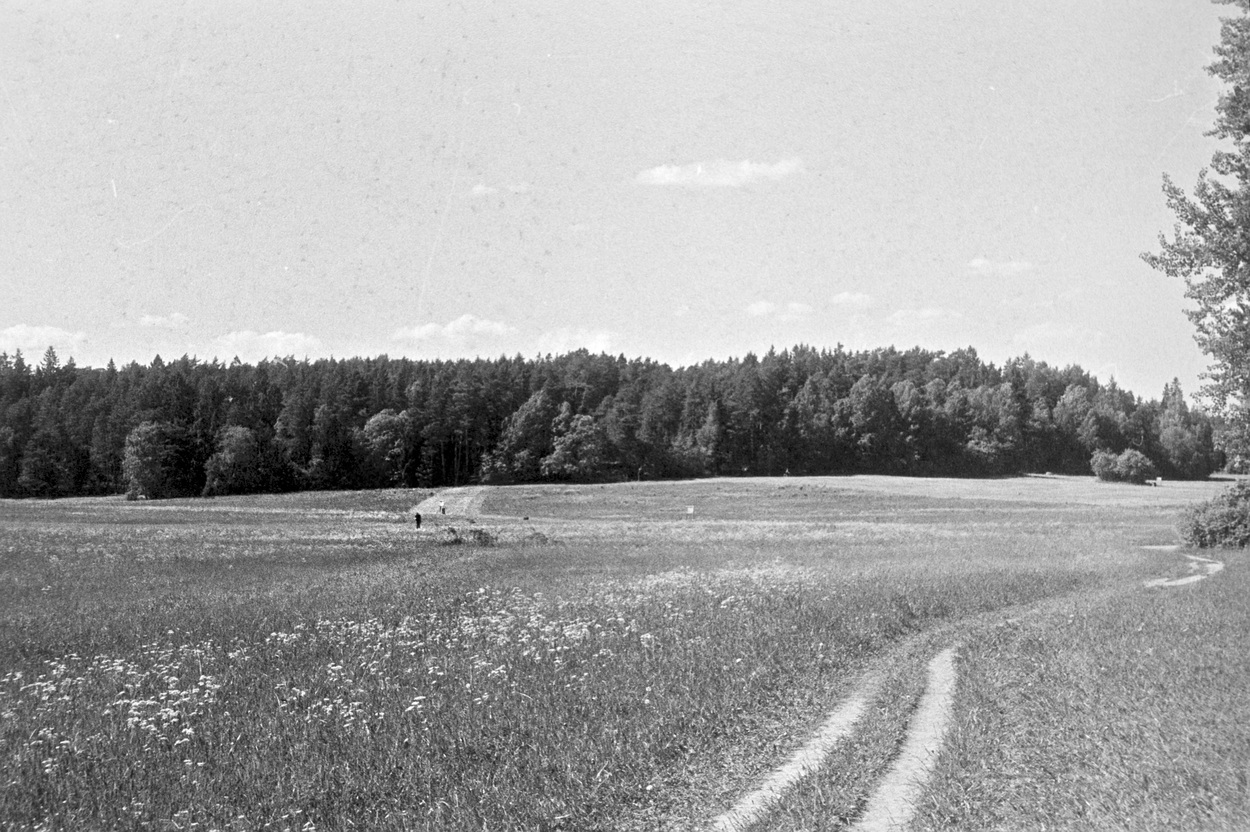
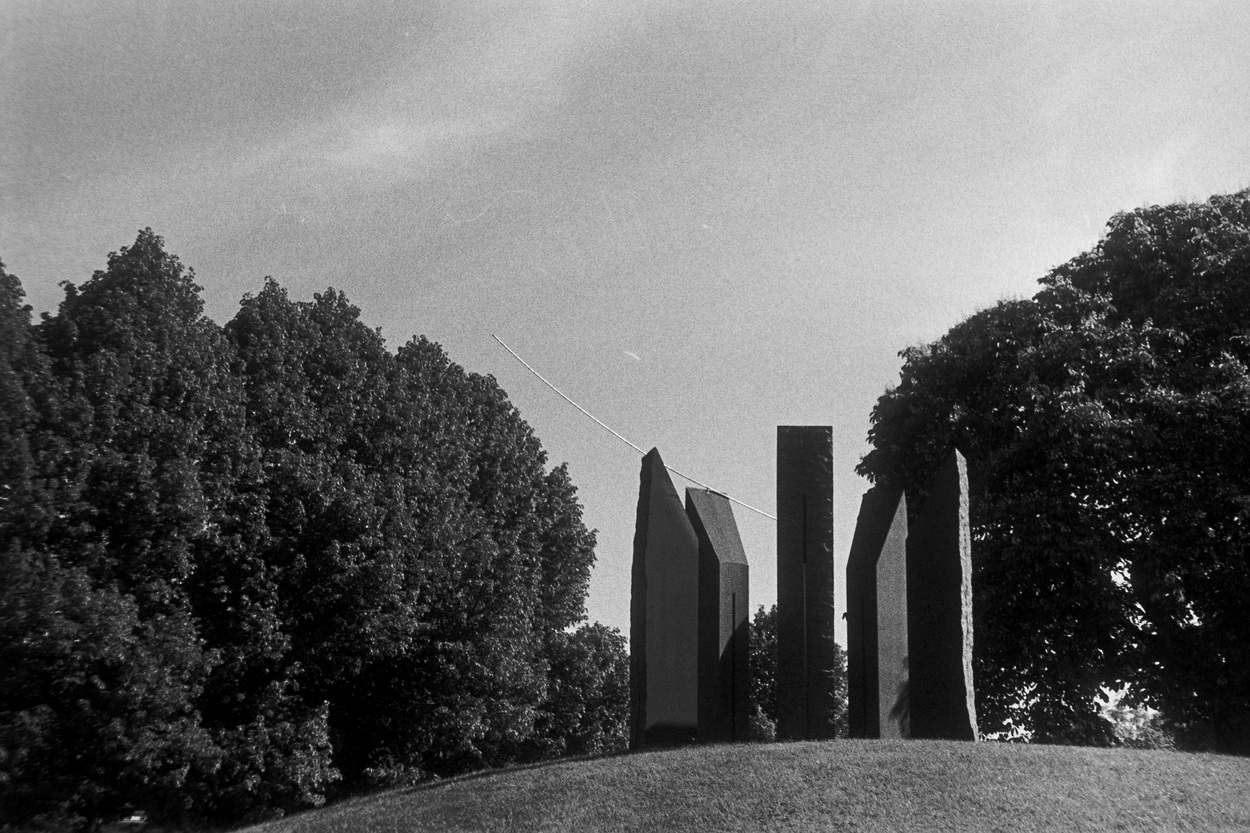
Overall, I'm very content with the result. As you can read, my process was very improvisational. I was certain I had messed up before I looked at the negatives. Home developing black and white film is actually quite easy. As long as you follow time and temperature requirements, there are only so many ways you can mess up. I find that uplifting. It also means I'm going to shoot a lot of film in the near future!
2015-06-11 addendum: I've been recommended to do a final rinse with distilled water instead of tap water to minimise the effect of the water marks. That's probably the adjustment I'll do for the next roll.